Good day to everyone welcome to the blog that would help you use your pc well, fix it yourself and customize it by yourself. This blog would share you the step by step procedure fo pc trouble shooting ( harware, software), pc customization, and will share you the "whats new" on the pc world. So lets sitback and enjoy the ride.
Now, for my first post I would like to share you readers hot to install windows xp. This is a step by step procedure written for the newbies on pc world. Lets start.
Step 1 – All versions of Windows XP CD are bootable. In order to boot from CD/DVD-ROM you need to set the boot sequence. Look for the boot sequence under your BIOS setup and make sure that the first boot device is set to CD/DVD-ROM. Start your PC and place your Windows XP CD in your CD/DVD-ROM drive. Your PC should automatically detect the CD and you will get a message saying "Press any key to boot from CD". Soon as computer starts booting from the CD your will get the
following screen:

Step 2 - At this stage it will ask you to press F6 if you

want to install a third party Raid or SCSI driver. If you are using a an IDE Hard Drive then you do not need to press F6. If you are using a SCSI or SATA Hard drive then you must press F6 otherwise Windows will not detect your Hard Drive during the installation. Please make sure you have the Raid drivers on a floppy disk. Normally the drivers are supplied on a CD which you can copy to a floppy disk ready to be installed. If you are not sure how to do this then please read your motherboard manuals for more information.
Step 3 - Press S to Specify that you want to install additional device.

Step 4 - You will be asked to insert the floppy disk with the Raid or SCSI drivers. Press enter after you have inserted the disk.

Step 5 – You will see a list of Raid drivers for your HDD. Select the correct driver for your device and press enter.

Step 6 – You will then get a Windows XP Professional Setup screen. You have the option to do a new Windows install, Repair previous install or quit. Since we are doing a new install we just press Enter to continue.
Step 7 – You will be presented with the End User Licensing Agreement. Press F8 to accept nd continue
 Step 8
– This step is very important. Here we will create the partition where Windows will be installed. If you have a brand new unformatted drive you will get a screen similar to below. In our case the drive size is 8190MB. We can choose to install Windows in this drive without creating a partition, hence use the entire size of the drive. If you wish to do this you can just press enter and Windows will automatically partition and format the drive as one large drive.
However for this demonstration I will create two partition. The first partition will be 6000MB (C: drive) and second partition would be 2180MB (E: drive). By creating two partition we can have one which stores Windows and Applications and the other which stores our data. So in the future if anything goes wrong with our Windows install such as virus or spyware we can re-install Windows on C: drive and our data on E: drive will not be touched. Please note you can choose whatever size partition your like. For example if you have 500GB hard drive you can have two partition of 250GB each.
Press C to create a partition.
 Step 9
– Windows will show the total size of the hard drive and ask you how much you want to allocate for the partition you are about to create. I will choose 6000MB. You will then get the screen below. Notice it shows C: Partition 1 followed by the size 6000 MB. This indicates the partition has been created. We still have an unpartitioned space of 2189MB. Next heighlight the unpartitioned space by pressing down the arrow key. Then press C to create another partition. You will see the total space available for the new partition. Just choose all the space left over, in our case 2180MB.
 Step 10
– Now you will see both partition listed. Partition 1 (C: Drive) 6000MB and Partition 2 (E: Drive) 2180MB. You will also have 8MB of unpartitioned space. Don't worry about that. Just leave it how its is. Windows normally has some unpartitioned space. You might wonder what happened to D: drive. Windows has automatically allocated D: drive to CD/DVD-ROM.
Select Partition 1 (C: Drive) and press Enter.

Step 11 – Choose format the partition using NTFS file system.This is the recommended file system. If the hard drive has been formatted before then you can choose quick NTFS format. We chose NTFS because it offers many security features, supports larger drive size, and bigger size files.

Windows will now start formatting drive C: and start copying setup files as shown on the two images below :

 Step 12 – After the setup has completed copying the files the computer will restart. Leave the XP CD in the drive but this time DO NOT press any key when the message "Press any key to boot from CD" is displayed. In few seconds setup will continue. Windows XP Setup wizard will guide you through the setup process of gathering information about your computer.

Step 13 – Choose your region and language
 Step 14 – Type in your name and organization.
 Step 15 – Enter your product key.

Step 16 – Name the computer, and enter an Administrator password. Don't forget to write down your Administrator password.

Step 17 – Enter the correct date, time and choose your time zone.

Step 18 – For the network setting choose typical and press next.

Step 19 – Choose workgroup or domain name. If you are not a member of a domain then leave the default settings and press next. Windows will restart again and adjust the display.

Step 20 – Finally Windows will start and present you with a Welcome screen. Click next to continue.

Step 21 – Choose 'help protect my PC by turning on automatic updates now' and press next.

Step 22 – Will this computer connect to the internet directly, or through a network? If you are connected to a router or LAN then choose: 'Yes, this computer will connect through a local area network or home network'. If you have dial up modem choose: 'No, this computer will connect directly to the internet'. Then click Next.

Step 23 – Ready to activate Windows? Choose yes if you wish to active Windows over the internet now. Choose no if you want to activate Windows at a later stage.

Step 24 – Add users that will sign on to this computer and click next.
 Step 25
– You will get a Thank you screen to confirm setup is complete. Click finish.
 Step 26
– Log in, to your PC for the first time.
 Step 27
– You now need to check the device manager to confirm that all the drivers has been loaded or if there are any conflicts. From the start menu select Start -> Settings -> Control Panel. Click on the System icon and then from the System Properties window select the Hardware tab, then click on Device Manager.

If there are any yellow exclamation mark "!" next to any of the listed device, it means that no drivers or incorrect drivers has been loaded for that device. In our case we have a Video Controller (VGA card) which has no drivers installed.
Your hardware should come with manufacturer supplied drivers. You need to install these drivers using the automatic setup program provided by the manufacturer or you need to manually install these drivers. If you do not have the drivers, check the manufacturers website to download them.
To install a driver manually use the following procedure:
(a) From the device manager double click on the device containing the exclamation mark.
(b) This would open a device properties window.
(c) Click on the Driver tab.
(d) Click Update Driver button. The Wizard for updating device driver pops up as shown below:

You now get two options. The first option provides an automatic search for the required driver. The second option allows you to specify the location of the driver. If you don't know the location of the driver choose the automatic search which would find the required driver from the manufacturer supplied CD or Floppy disk. Windows would install the required driver and may ask you to restart the system for the changes to take affect. Use this procedure to install drivers for all the devices that contain an exclamation mark. Windows is completely setup when there are no more exclamation marks in the device manager.
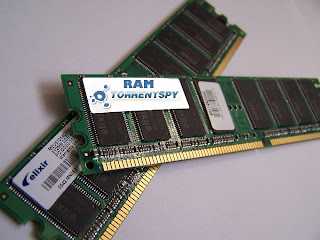

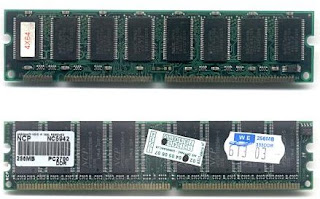 Step - 4. Find out whether the computer uses regular, FPM, EDO, or Synch DRAM.
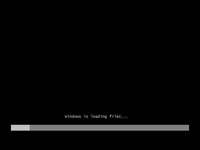 Step 2 - The next screen allows you to setup your language, time and currency format, keyboard or input method. Choose your required settings and click next to continue.
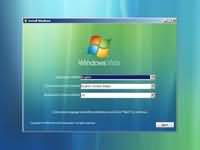 Step 3 - The next screen allows you to install or repair Windows Vista. Since we are doing a fresh install we will click on "install now".
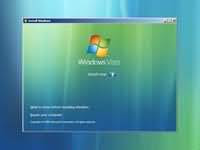 Step 4 - You can now type the product key that came with your Windows vista.
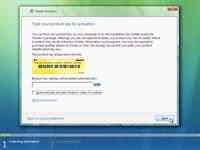 Step 5 - If you do not enter the product key you can still proceed with the installation in which case Windows will ask you which version of Vista you have purchased. Windows Vista Home Basic, Home Premium, Ultimate, Business etc. Select the version you have purpixchased and click next.
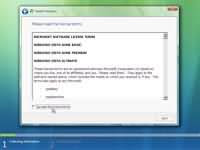
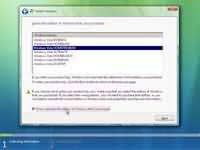 Step 6 - Tick "I accept the licence terms" and press next.
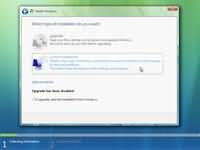
 Step 7 - Choose the type of installation you want to perform. You will notice that upgrade option is disabled as we have booted from the DVD-R. Therefore we can only select Custom (advanced) option which basicly installs a clean copy of Windows from scratch.
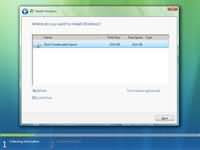
 Step 8 - Choose where you would like to install Windows Vista. If you have a new upartitioned hard drive you would get your hard drive listed as shown on the image below. If have have an old hard drive with data or other partitions it will show up as logical drives. You can select the drive options (advaced) to format, delete, or create new partions. Because I am using a single new hard drive i will select next to continue. Windows will create a partition and format it using NTFS files system.
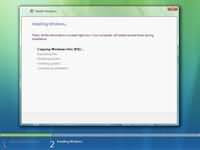
 Step 9 - Windows starts the installation process and starts copying all the necessary files to your hard drive as shown on the image below. It will go through various stages of the setup and will reboot your system few times. When your PC reboots it attempts to boot from CD as its the first boot device. Do not press any key during the boot prompt so Windows Vista will continue with the installation by booting from your hard drive.
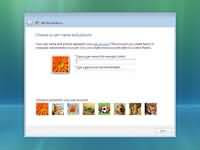
 Step 10 - After installation copy process is complete you are presented with the Setup Windows dialogue box as show below. At this stage you need to choose a user name, password and a picture for your user account. The account you create here is the Administrator account which is the main account for your Windows Vista that has all the privilages. Click next continue
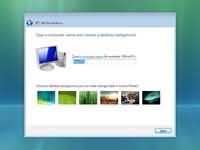
 Step 11 - Now you need to choose your computer name and desktop background. Click next to continue.
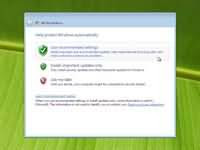
 Step 12 - Choose wether your want to Help protect Windows automatically. Select "Use recommened settings" to continue.
 Step 13 - Review your time and date settings. Select your time zone, correct the date and time and click next to continue.
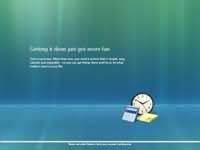
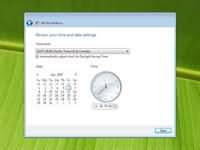 Next screen presents you to select your computers current location. You can choose between home, work, public location. Choose home to continue. You will finally get a "Thank you" screen which confirms the end of the interactive installation process. This is not the end of the setup process. There are still many after installation configuration to be done. Click next to continue.
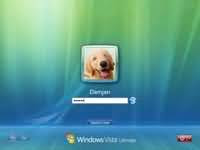
 Step 15 - Finally you have the logon screen. Just type your password and press enter or click on the arrow to logon to Windows Vista for the first time.
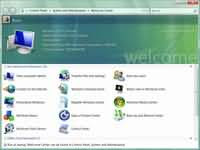
 Step 16 - Soon as you logon you will be presented with welcome centre. You can use the welcome centre to configure, customise, and update Windows vista.
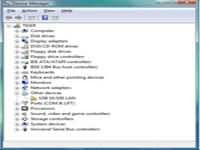
 Step 17 - Finally you need to check if all your hardware has been detected correctly. You can do so by checking your device manager. To access device manager click Start menu -> Control panel -> System -> Device manager. You will see all your hardware listed as shown below. You need to check if you have any yellow exclamtion marks next to the name of the device similar to "USB 10/100 LAN" on image below. This indicates the driver has not been installed for this device.